How To Navigate Breakout Rooms In Zoom

Managing Breakout Rooms Zoom Help Center
Tutorial Zoom Breakout Rooms Department Of History University Of Washington
Beginners Guide To Zoom Breakout Rooms
Pre Assign Breakout Rooms In Zoom Youtube
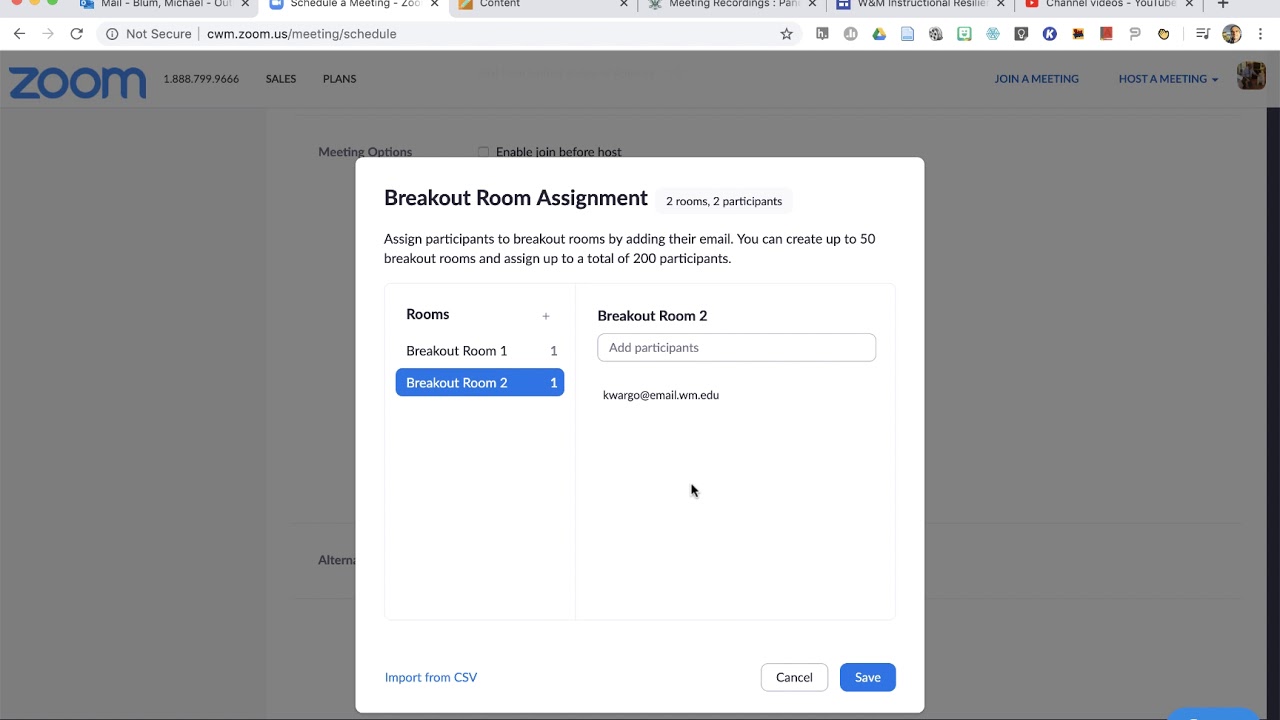
Creating Zoom Breakout Rooms In Advance A Canvas Semester Checklist

Breakout Rooms University Of Oslo
Then navigate to account management and click account settings.
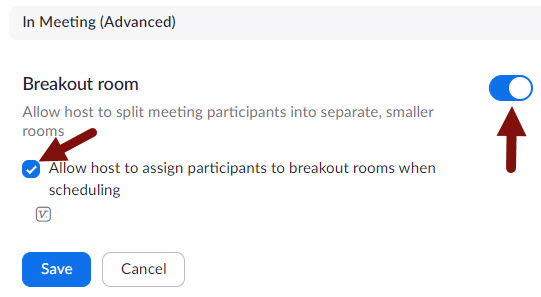
How to navigate breakout rooms in zoom. There are a few points you need to remember or keep in mind while using the breakout room feature in zoom. Using zoom breakout rooms can take your video meetings to a whole new level. Sign in to the zoom web portal. Here s how you can navigate the zoom breakout rooms in the host interface. Under in meeting advanced you can enable the breakout room feature.
If not click on the switch next to the option to toggle it on. Go to zoom us sign into your account using your zoom credentials and navigate to your account settings. Once enabled you can create breakouts during your meetings by clicking on the breakout rooms icon in the lower right hand side of your toolbar. If the setting is disabled click the toggle to enable it. Navigate to the breakout room option on the meeting tab and verify that the setting is enabled.
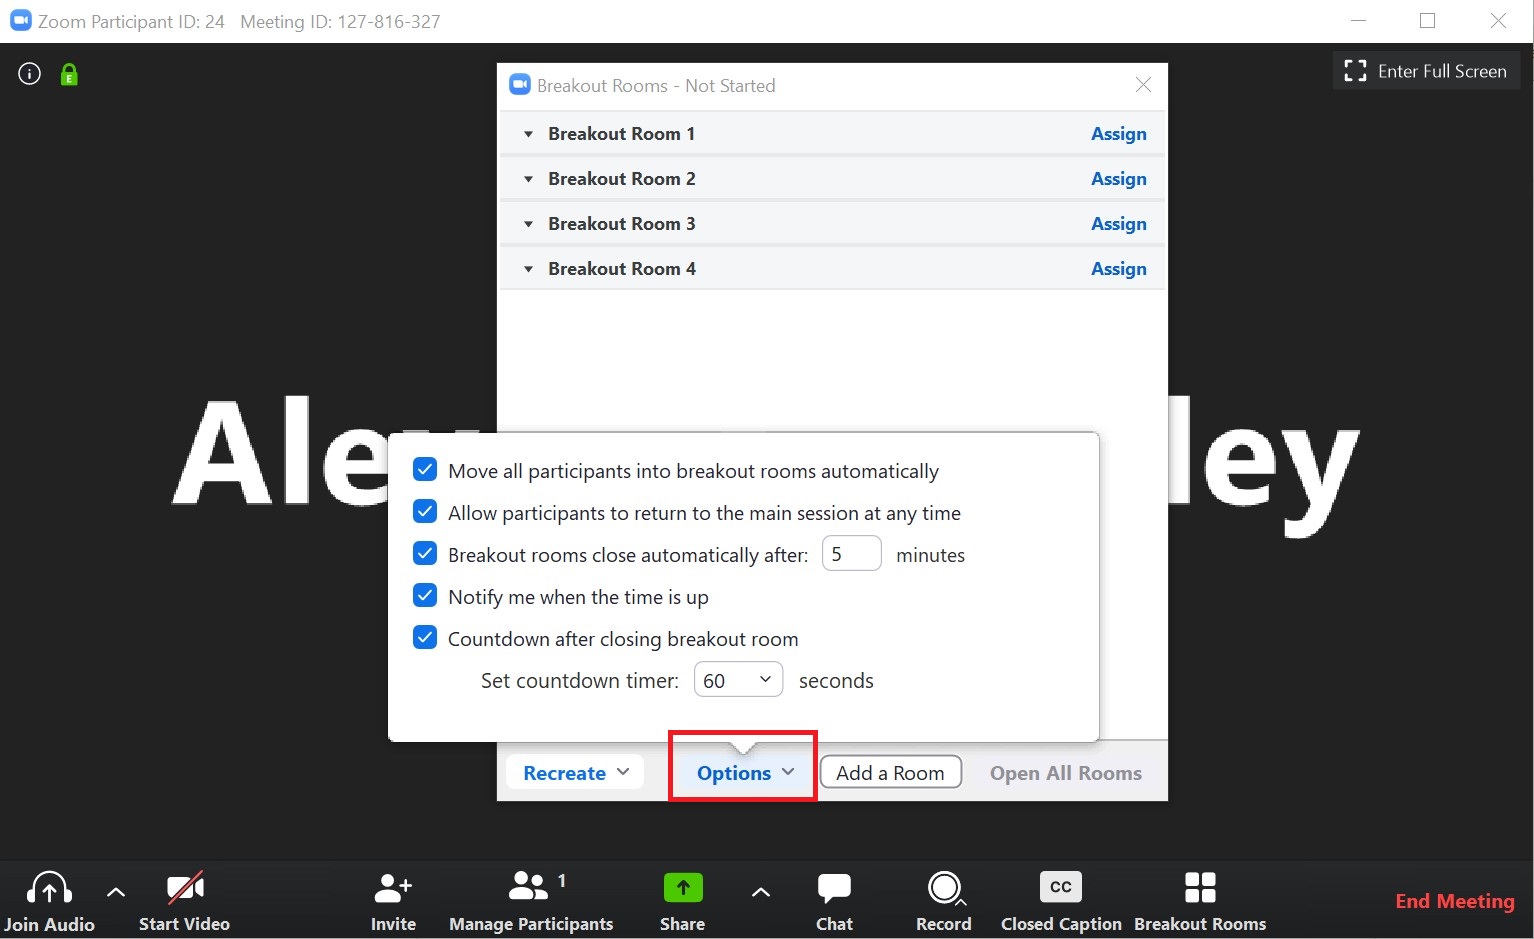
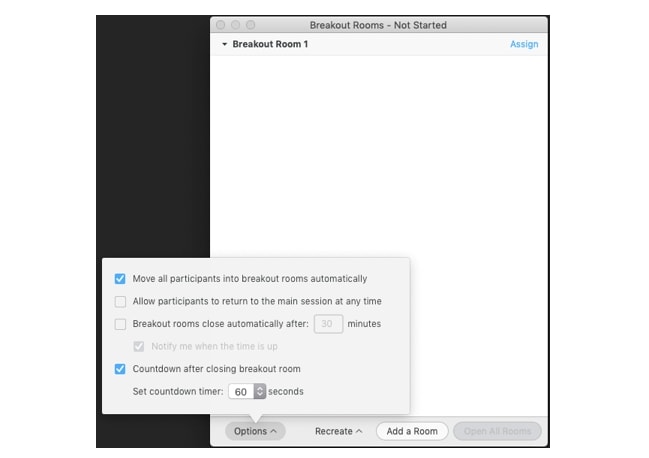
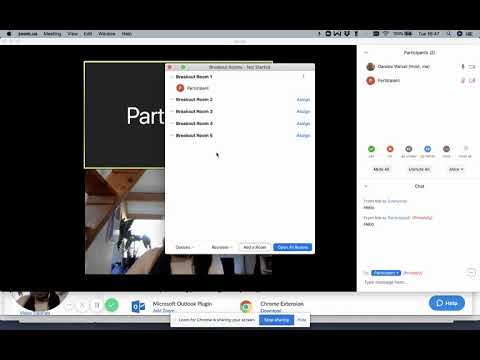
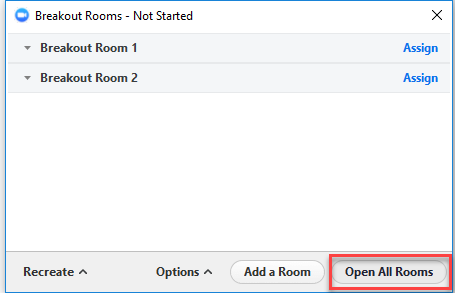
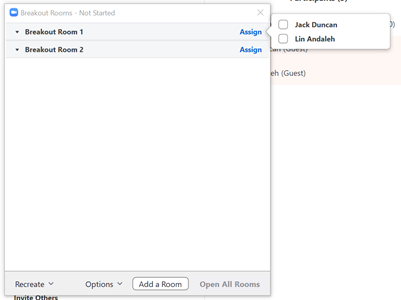
The moment the meeting begins you should see the breakout. The breakout room feature is under the meeting tab and you need to navigate there to confirm it s on. If you don t see the button maximize your screen or find breakout rooms under more. To enable the breakout room feature for your own use. Click on the breakout rooms icon on the zoom host toolbar to see who s in each room or hover over to move rename delete or reassign people from various rooms.
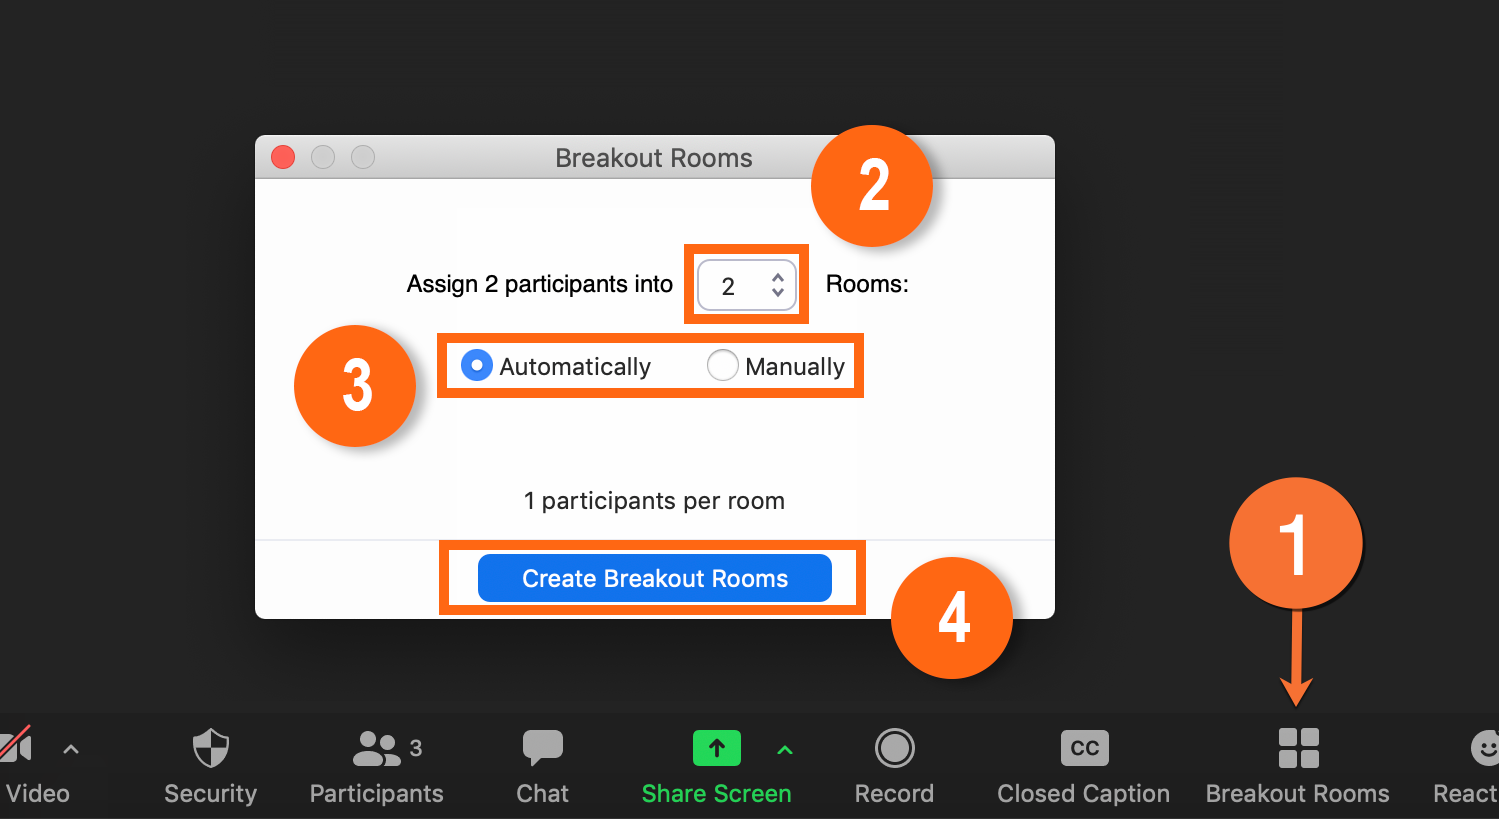
You can also use the web app across all desktop laptop devices. In the navigation menu click settings. Using the zoom web portal make sure to sign in with administrative privileges. Choose which participants you would like in each room. Select the number of rooms you would like to create and how you would like to assign your participants to those rooms.
Click create breakout rooms. Select either new meeting or schedule to schedule an upcoming meeting. Open up the zoom application on your mac or pc and log in. Go to new meeting or select schedule. Let zoom split your participants up evenly into each of the rooms.

How To Use Zoom Breakout Rooms Youtube

How To Use Breakout Rooms In Zoom Youtube

Breakout Rooms Zoom
How To Set Up Breakout Rooms In Zoom Youtube
How To Use Breakout Rooms In Zoom For Teaching And Learning Youtube

Self Select Breakout Rooms In Zoom Allow Participants To Choose Breakout Room Youtube
Breakout Rooms Ccctechconnect
Breakout Rooms In Zoom Youtube
Zoom Using Breakout Rooms Zoom Resources Tools Resources Keep Teaching Indiana University

Managing Participants In Zoom Waiting Rooms And Breakout Rooms Lx At Uts

Tutorial Zoom Cloud Meeting Indonesia Cara Gunakan Breakout Room
Zoom Breakout Rooms Toolbox Digital Media Projects Ryerson University

How To Enable Breakout Rooms In Zoom